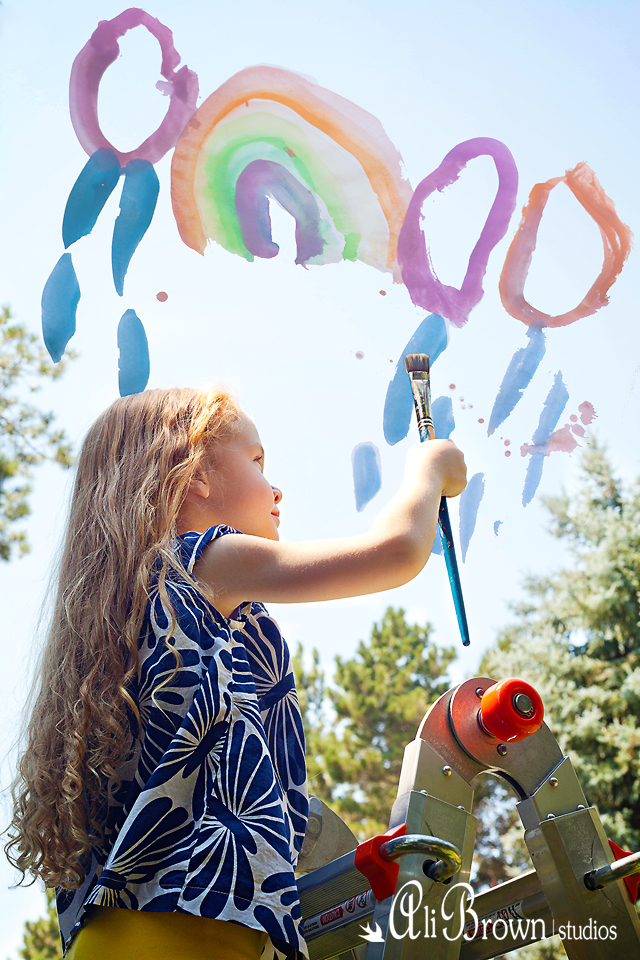
Merge a photo of your child with their own artwork | Photoshop Tutorial
 Posted on July 11, 2013
 by Ali Brown
  1
1 So a random, funny thing happened to me. I started getting tons of traffic to my site and lots of emails asking me about this tutorial. I had no idea what people were talking about. My tech savvy husband figured it out. Apparently there is a picture on Buzzfeed of a little girl painting the sky that is linked to my website. I have no idea how this happened! I ignored the emails for a while but because there seemed to be so much interest for this tutorial I decided to make my own. It looked pretty simple, and it was! Just to be clear: The black and white picture on Buzzfeed is not mine, I take no credit for it. That being said- enjoy my version 🙂
Things you’ll need:
Adorable little child (check)
A cute picture created by said adorable child (check, check)
Camera
Photoshop
1) Take a picture of your child “painting” the sky
2) Take a picture of your child’s artwork
3)
To delete the background of your artwork follow these steps:
Double click on the layer to unlock it
Press Q
Use a paint brush to color over everything you want kept- make sure you’re careful to get all the little details you want in it. (Brush default color is red, don’t freak out, it’s not permanent)
Press Q again
Press Control D
Press Delete
Select magic erase tool and click on any leftover background spots
You may also need to use the eraser to go along the edges of anything that was missed
4)
Drag and drop your child’s artwork onto the picture of your child
5)
Press Command T to resize and rotate the artwork to fill the sky.
Add a layer mask to the artwork and brush off the areas that cover your child. (This will make it look like your child is painting it.)
Wham Bam Thank you Ma’am, you are done! I did this picture in about 15 minutes, it’s quick and fun.


Thanks! This is super cute and I will totally be using this, it would also work with will older kids who have kept their sense of whimsy and still draw or paint.
https://www.etsy.com/shop/RonjasVintageRoses?ref=si_shop